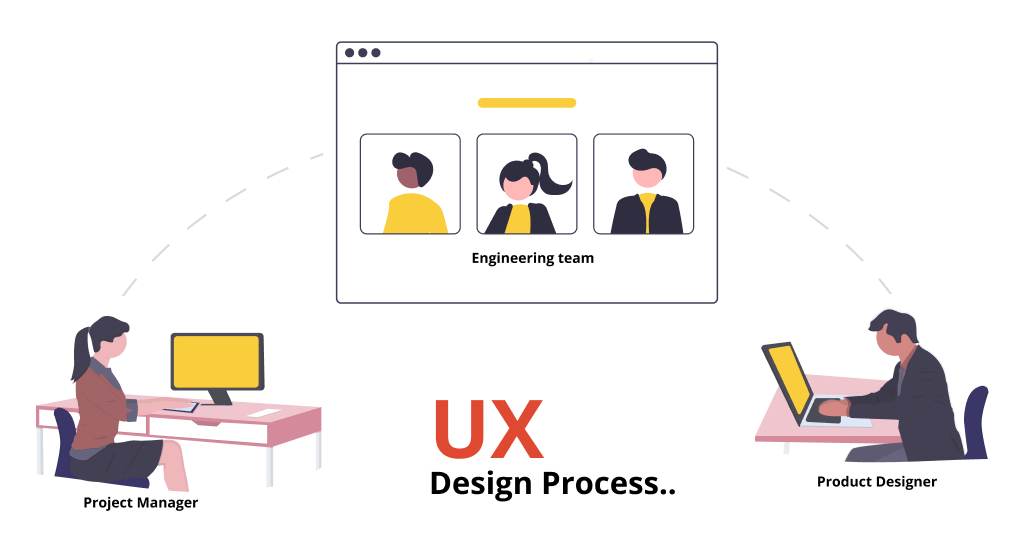
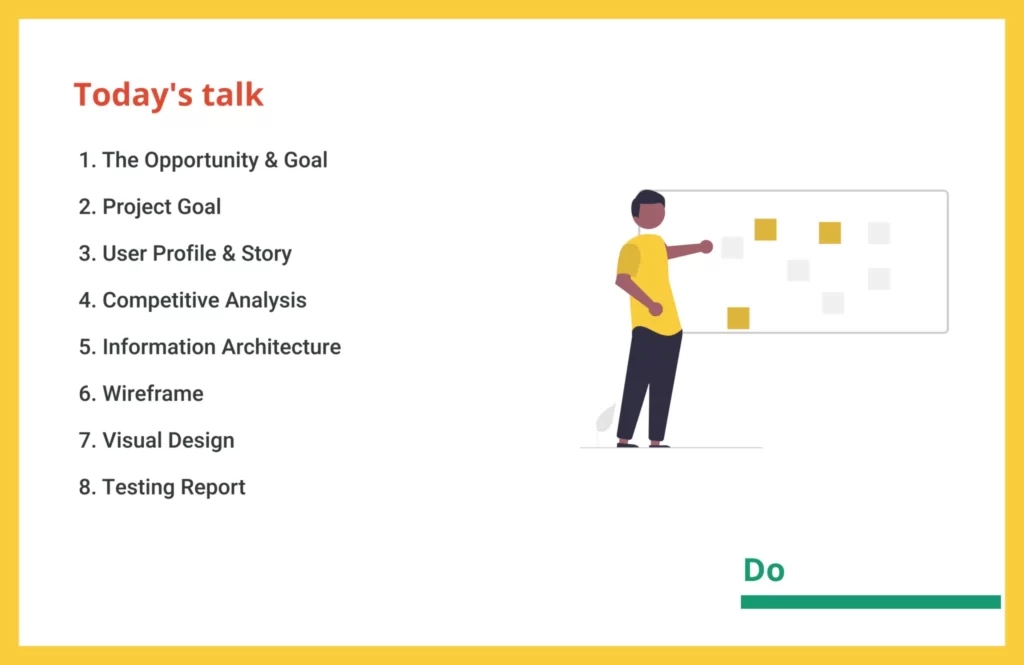
In this blog, I will share my design process as a product designer. I will also be sharing some tips I have gained over the years, and they can be helpful for your next project.
As a product designer, I work closely with the Product Managers and Engineering team.
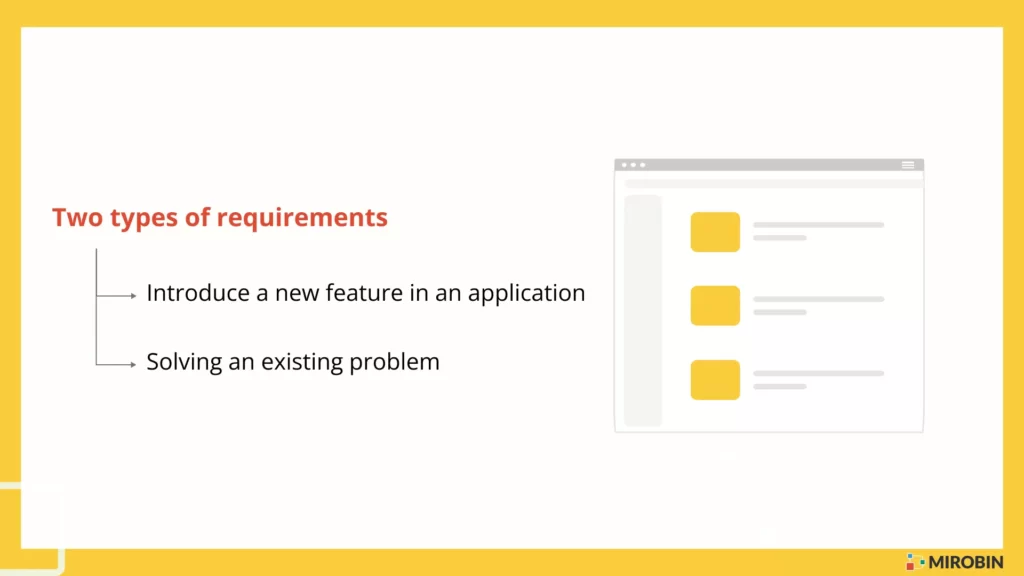
The journey started when we, the product designers, got requirements. There are two kinds of needs. Either we are introducing new features or trying to solve an existing problem in the application.
Ideation
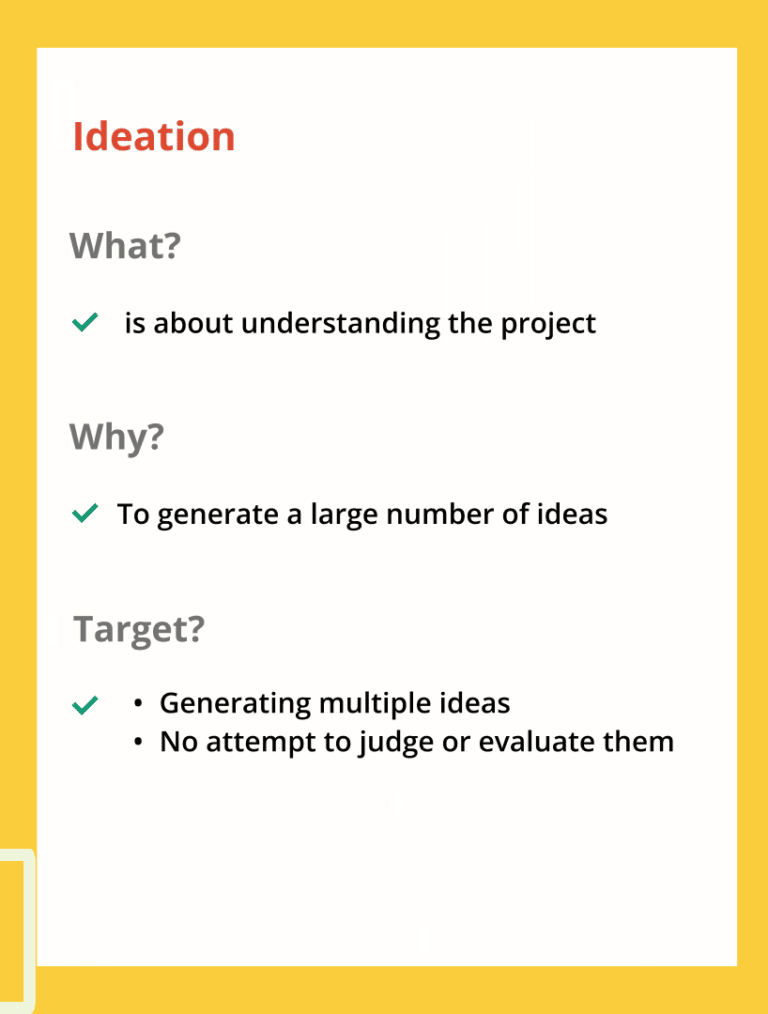
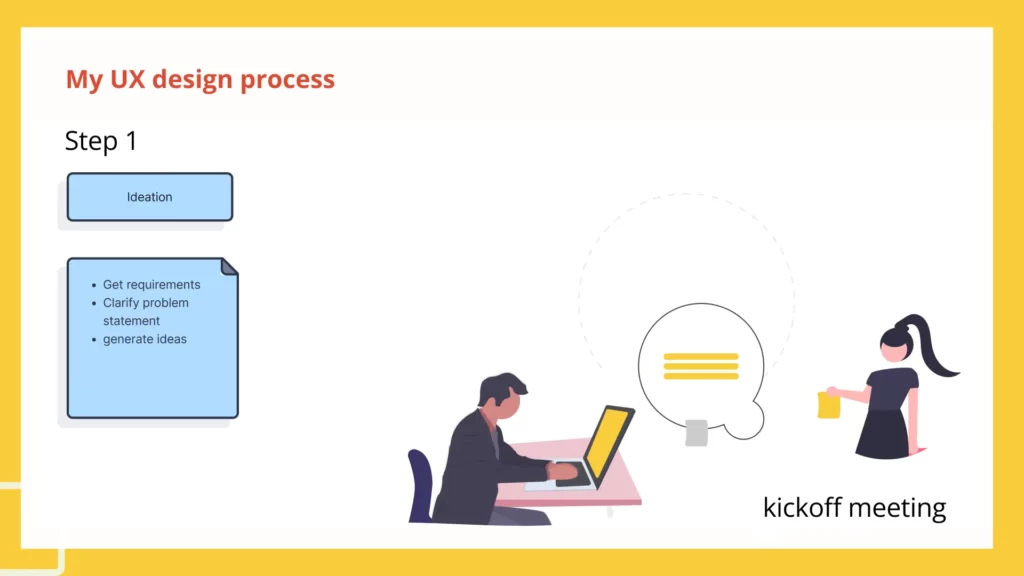
For each of them, I start with Ideation
Depending on the project timeline, I usually spend half of my day, which means 3 to 4 hours, on Ideation. Initially, I thought I was spending too much time on ideations. But it looks like it’s standard time other UX designers spend.
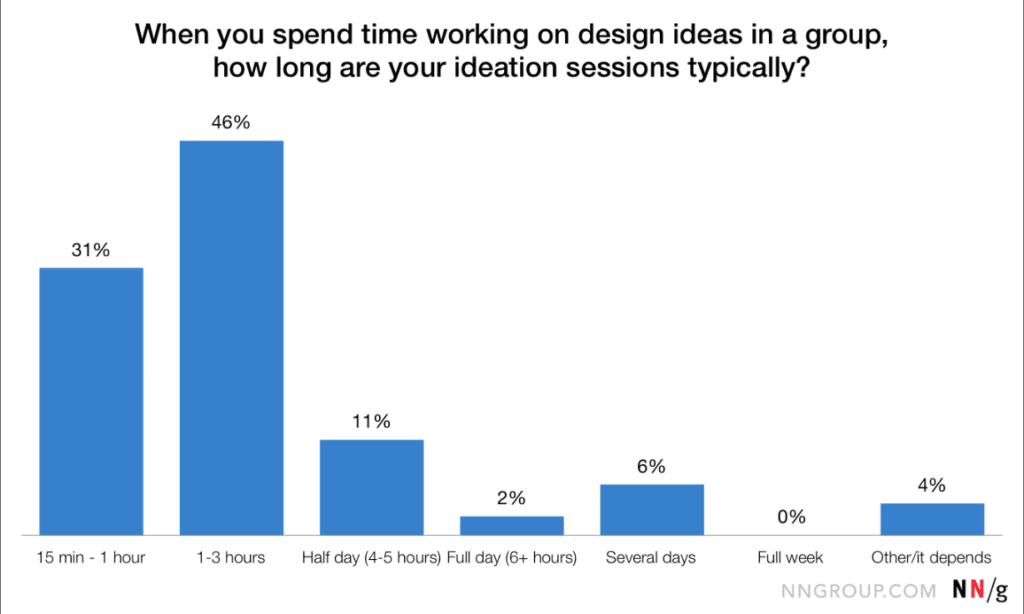
As you can see in this chart from NN/g is showing 46% of UX designers spend 1-3 hours in ideation.
So Ideation is more about understanding the project and generating ideas without evaluating them. It means sometimes I come up with multiple possible solutions.
Allow me to give you an example. Let’s say the requirement is to show information that the user might overlook earlier. Now there can be many possible solutions like showing notifications or alerts or a banner or widget. So you write down multiple solutions, but it’s not the time to evaluate whether these are right or wrong.

During this time, I talk to different team members to get a clear idea of the requirement. The first question I start with is, “What problem are we solving here.”
In the kickoff meeting, I usually discuss the whole document and gather as many bullet points as possible while they are explaining the problem.
Here is my template
- What problem are we solving?
- Who are the users?
- Is this a new feature or existing?
- What are the success metrics?
- What motivates us to solve this problem?
- What is the business objective?
When I started my career, I saw other UX designers asking these questions; I kept thinking. Why the hack? I need to know these questions. I am just a designer. I will design based on what they need. Right? But the fact is that the clearer your vision is, the better your design will be; the best part is that it helps to determine the right problem and how to solve it.
Research
When I completed the Ideation, I started doing research.
My research focused on 2 key things. One is the user needs the other is business goals. Because product design is all about balancing these two things.
I need to ensure my design is less painful for the user and more profitable for the business. If you keep thinking about user experience and do not even care about the company goal, you might lose your job soon. 😂
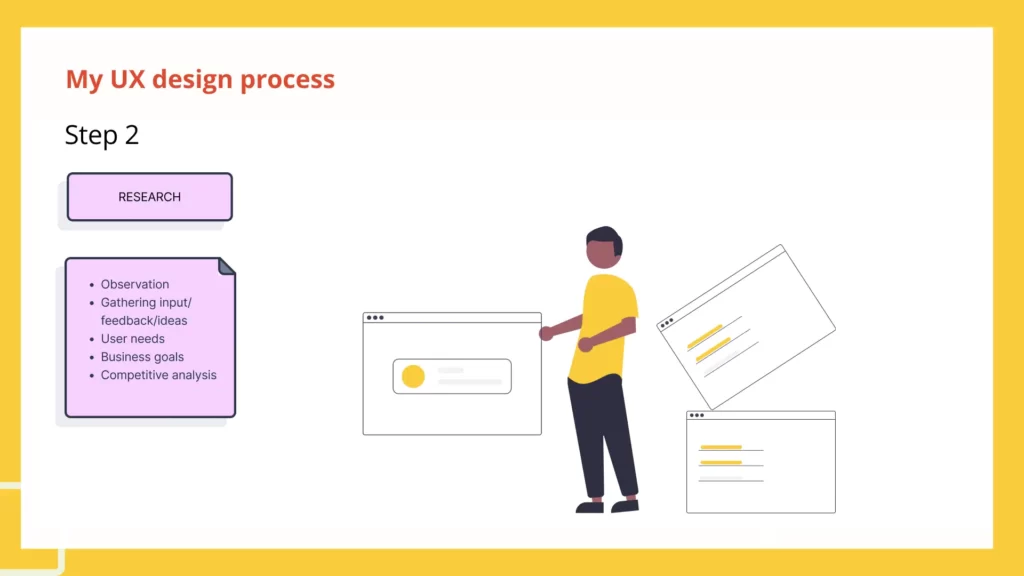
Depending on the project, I do my research. If the project valuation is extensive, I spend more time. If I have less time on the project, I spend a limited time here.
At this stage, I also gather ideas on what competitors are doing, why users like it, and what things users do not enjoy.
When I have enough information about user needs, goals, and competitors, I jump to the next stage of the design process, which is “Analysis”.
Analysis
During this time, I create the user flow, customer journey map, or any flow that helps organize the information I am about to show in my design solution.
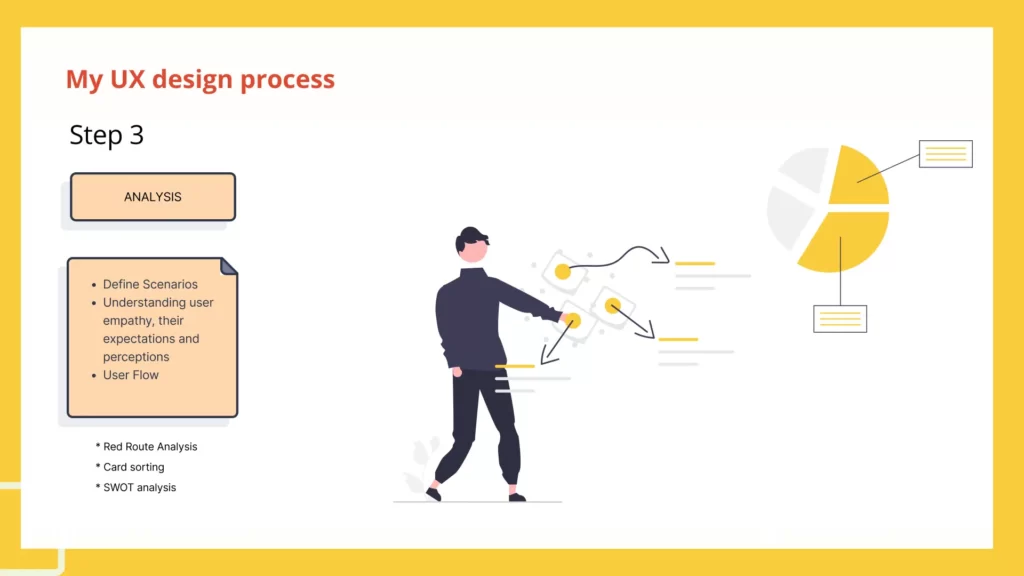
If it is an existing application’s feature, I design the current flow first. Then try to understand why it is not working well and what is working well. This helps me resort to information architecture.
Information Architecture & Wireframing
Check out my other blog if you don’t know what information architecture is.
Once my information architecture is completed, I do the initial wireframe. Again, it helps to walk through the structure and give room for discussion with my team.
After finishing my wireframing, I set up my first meeting with my team to validate what I am about to propose.
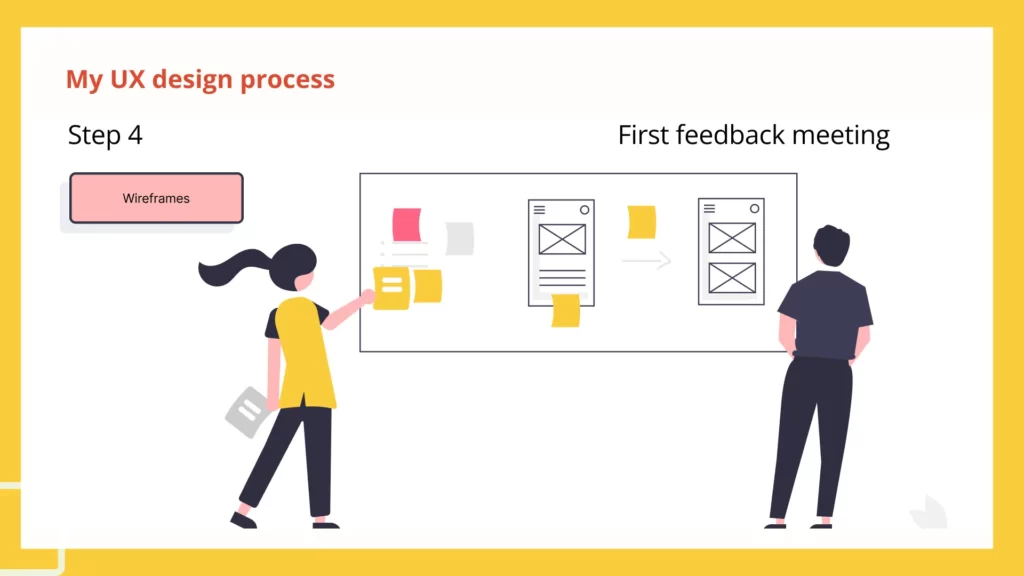
This meeting gets some feedback and helped me if I missed anything from the requirements. After having this meeting, I update my wireframe and set up another meeting with the Developers.
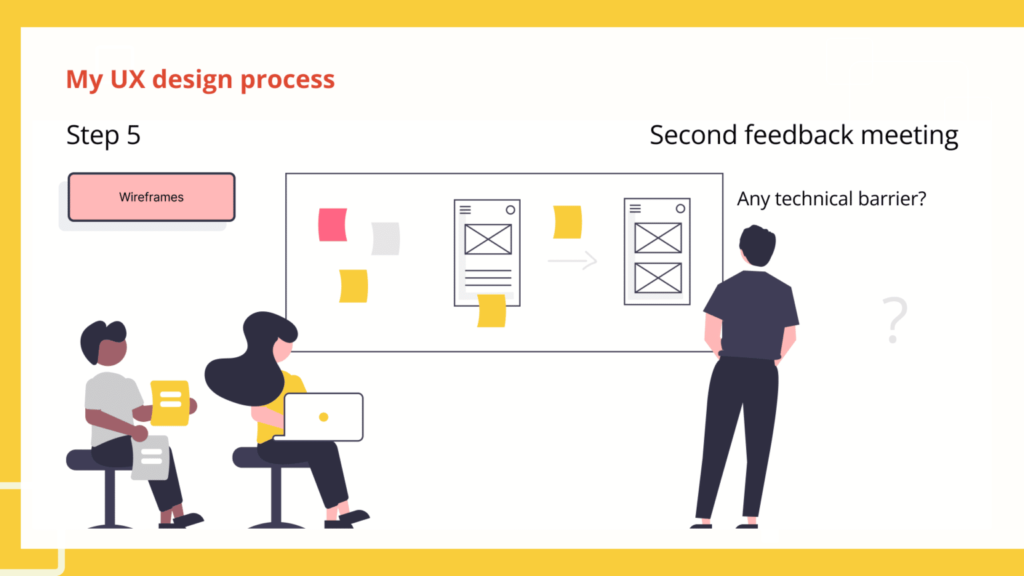
This meeting helped me to understand the technical possibility of my proposed flow. After getting the developers’ feedback, I update the wireframes if necessary and share the link with the developer for the final check. Once they agree with the flow, then I draw the mode board.
Now let’s say in my wireframe I have the tab, modal, and alert, so based on those UI elements, I start creating my mode board and feature idea in my design tool. I never finish my mood board instead I keep updating my mood board while designing.
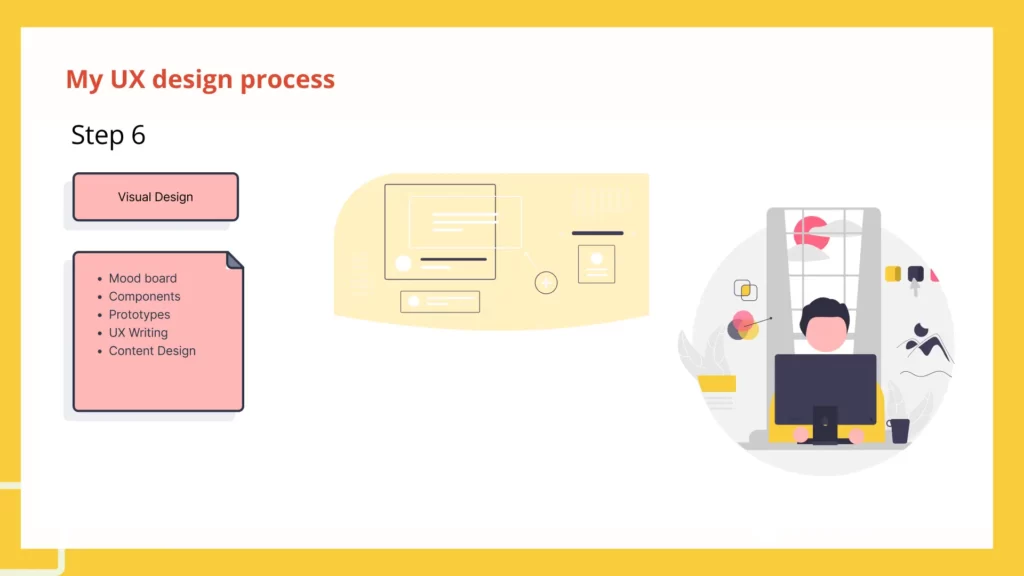
Visual Design & Prototyping
After gathering some ideas I start my visual design. Two essential things here. If I design from scratch, I will take more time. But UI design doesn’t take much time if I have a design system defined in the company or I have already created the library.
💡 Quick Tip:
If you build a design system, build after you complete one or two pages of designing. For instance, If you are designing a website, start working on the design system only after you finish at least your home page. It will help you focus more on your creativity instead of structuring things. In addition, you will have more freedom in whatever you are creating.
Once I complete the design, I share the flow with my team so they can comment if they think it needs to be updated. Unfortunately, I haven’t had the opportunity to work with a UX writer, so my Team and I do the copyrighting content. Oh yes, during that time, I also do the prototyping.
So technically, I am doing the visual design and prototyping simultaneously.
Usability Testing
Once my team and I agree with the design, It’s time to do usability testing. I do three user testing because three users will give your 90% of the feedback.
💡 Quick Tips:
Two things are most crucial in usability testing. First, you select the correct user and ask the right question. Because any of it you miss, you are doing wrong validation.
After the testing, I create the testing report and final design changes.
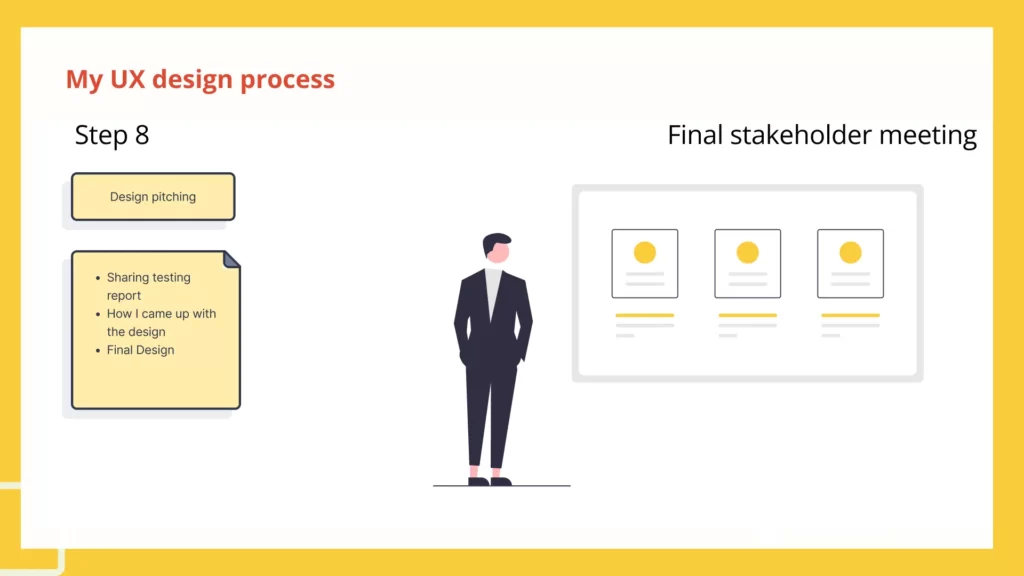
Design Pitching
Once the flow is ready, I present it to the stakeholders, design lead, and project manager. In this meeting, I mostly tell the story behind the design, sharing user testing reports and the final design.
💡 Quick Tips:
Do not share the design before giving a design pitch. Instead, tell the story behind creating the layout. Telling a story provides a strong base for your design. Also, it proves that there is logic behind your design, not out of the blue.
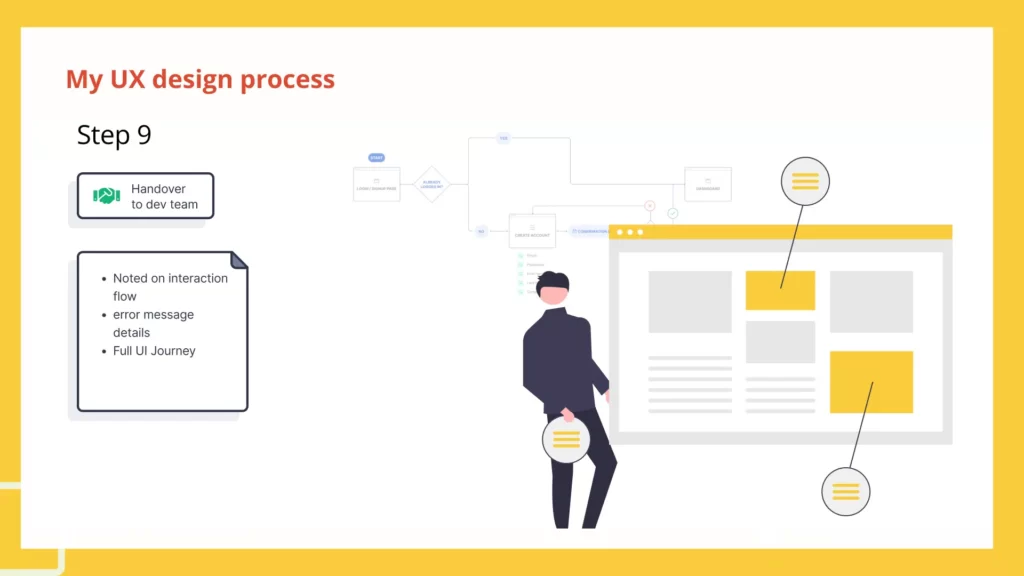
Design Handover
Time to hand over the design to the developers. I never shared the image version of the design file with them; instead, I shared the Figma or Sketched link. also, many sticky notes contain directions about how the UI elements will work.
💡 Now before I finish this blog here are more tips for you.
- Don’t overthink the UX design process. Like, am I following the correct flow? Or am I following the lean method or double diamond? Just choose the way that fits your need. Because eventually, you grow your skill. The more you do, the projects more refined your process will be. Remember, the process is there to make a better design solution. It’s not the law that you need to follow strictly.
- don’t jump to design right after getting the requirement. Instead, spend half your timeline on things like Ideation, research, analysis
- Communicate with wireframe. Involve your team at the beginning of your process. Do not surprise the team with the final design. It will always need revisions. Admit it; you can’t make 100% perfect design, but there is always room for improvement.
That’s all for this blog. Thank you so much for reading.

A UI/UX Designer with a background in Business Administration. He loves to explore complex problems and create experiences that work for both businesses and users.


Great breakdown of the real-life UX design process! A well-defined design process in UI/UX helps in creating user-centric products that solve real problems. Following a structured UX design methodology, from research to prototyping and testing, ensures a seamless experience. Understanding UX process steps is key to delivering intuitive and functional designs. Thanks for sharing these valuable insights! 👏 #UXDesign #ProductDesign #DesignThinking